How to Organize a Small Kitchen Without a Pantry
How to organize a small kitchen without a pantry in 9 steps: pick the right cabinet, decant staples, use doors and gaps, and keep food cool, dry and safe.
PulseCrafted Kitchen is reader-supported: when you buy through links on this page, we may earn a commission at no cost to you. As an Amazon Associate I earn from qualifying purchases. How we make money
On this page
To organize a small kitchen without a pantry, give your food one home instead of five. Pick the coolest, driest cabinet you have and turn it into a pantry cabinet. Then decant staples into square containers and claim the spots most kitchens waste: the backs of doors, the gap beside the fridge and a free bit of wall. Most kitchens can do it in an afternoon, and nothing here needs a renovation.
No pantry usually means food ends up everywhere: cereal on top of the fridge, cans in the corner cabinet, snacks on the counter. That scatter is what makes a small kitchen feel cluttered. It’s also how you end up buying a third jar of cumin. The nine steps below fix the system first and only then suggest buying anything.
How we put this together: these steps combine food storage advice from the USDA and state health departments with the methods in our small kitchen organization ideas guide. We haven’t tested the products we suggest, and you can do most steps with what you already own. For our picks, we compared sizes, weight ratings and materials against typical small kitchens. (More on how we choose what to recommend.) Short on time? Jump to our five picks.
Time: two to three hours for steps 1 to 6, plus a shopping trip if you need containers.
How to organize a small kitchen without a pantry, step by step
1. Take stock of the food you keep
Empty every spot where food lives now: the cabinets, the top of the fridge, the counter and that bag by the door. Put it all on the table and sort it into groups:
- Breakfast: cereal, oats, coffee and tea
- Grains and pasta
- Cans and jars
- Baking: flour, sugar, baking soda
- Snacks
- Oils, vinegars and sauces
- Spices
Throw out anything past its date, and check the cans as you go. A can that is rusted, bulging, leaking or badly dented belongs in the trash, not back on the shelf. Put duplicates together so you can see them. Now you know how much “pantry” you really need. For many small households, it’s two or three cabinet shelves plus a spot for spices.
2. Choose the coolest, driest cabinet
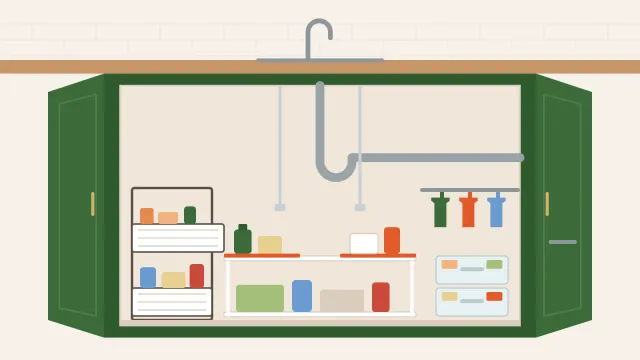
Where food lives matters as much as how neat it looks. The USDA’s advice on shelf-stable food is to keep it in a cool, dry place. That rules out spots above or beside the stove, under the sink, and a damp garage or basement. Heat and humidity shorten shelf life, and the Minnesota Department of Health warns that leaking pipes under a sink can damage food stored there.
So pick a cabinet away from the stove, the oven and the dishwasher, ideally close to where you prep. In many small kitchens, that’s an upper cabinet at the far end of the counter. Keep the warm spots for things that don’t mind heat, such as baking sheets, pans and serving dishes.
| Spot | Good for food? | Use it for |
|---|---|---|
| A cabinet away from the stove, oven and dishwasher | Yes, the best spot | Your pantry cabinet |
| Above or beside the stove | No: heat and steam | Pans, baking sheets, platters |
| Under the sink | No: leaks and cleaning products | Cleaning supplies and trash bags |
| The gap beside the fridge | Yes, if it isn’t next to the stove | Cans, oils and snacks on a slim cart |
| The back of a nearby closet door | Yes | Spices, snacks and wraps |
| A damp garage or basement | No: damp and big temperature swings | Paper towels and rarely used appliances |
3. Turn that cabinet into your pantry
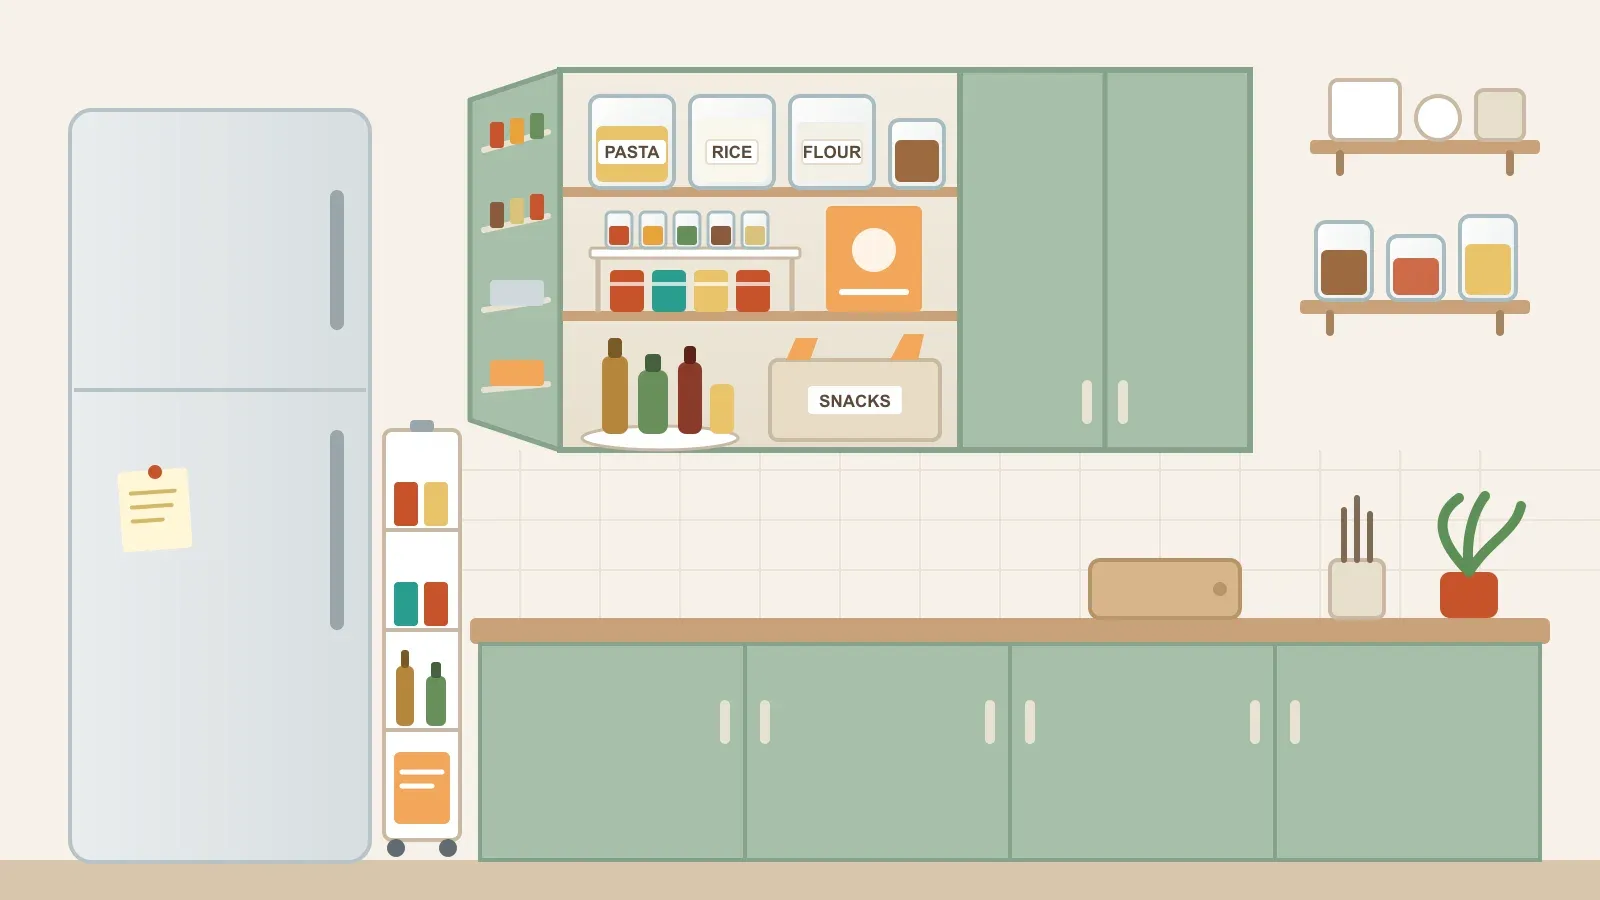
First, move the dishes or glasses out of the cabinet you picked. They can go on open shelves or in a cabinet near the dishwasher, where you unload them anyway. Then make the shelves work like pantry shelves:
- Add a shelf riser so short items stack in two levels: cans below, spice jars or small boxes on top.
- Put oils, vinegars and sauces on a turntable in the back corner, where things usually get lost. One spin brings the back to the front.
- Store tall boxes at the back and short ones in front, so you can read every label.
- Move the shelves to fit what you store. Most cabinets have spare peg holes, and an extra shelf is often cheap from the maker.
Put what you use every day between eye and hip height, and keep backups on the top shelf.
4. Decant staples into square containers
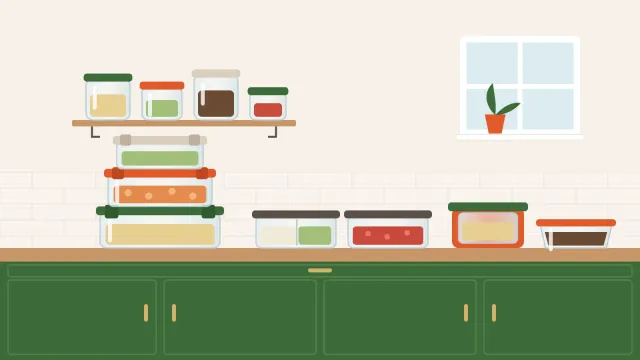
Flour, sugar, rice, pasta, oats and snacks take less room in clear, square containers than in bags and boxes. Square shapes sit edge to edge without wasted corners, they stack, and you can see at a glance when you’re running low. Airtight lids also keep out humidity and pantry moths.
Label each container with what’s inside and the date from the package. Tape the cooking instructions to the back if you need them. Glass lasts for years, but for dry goods, good plastic is lighter and works just as well; our glass vs plastic food storage comparison explains when each one wins. Don’t decant everything, though. Cans, jars and spice jars already stack well.
5. Sort everything else into bins
Loose packets and small boxes are what turn a cabinet into a jumble. Give each group from step 1 its own open bin, such as snacks, baking, sauce packets or tea, and label the front. Now you pull out one bin, take what you need and slide it back, instead of unpacking a whole shelf.
Measure the shelf depth first, and choose bins about an inch shallower, so the doors still close. In a deep lower cabinet, bins work like drawers and make the back reachable.
6. Use the backs of doors
The inside of a cabinet door is free storage. A slim door rack holds spices, foil, plastic wrap or small packets. Before you buy one, check how far the shelves stick out, because the rack has to clear them when the door shuts.
If there’s a closet, laundry or utility door near the kitchen, an over-the-door rack can be a small pantry on its own. Its shallow shelves keep cans, snacks and jars one row deep, so nothing hides behind anything else. Make sure the door still closes with the rack loaded and that the hooks fit the door’s thickness. Neither rack needs drilling, which makes them a good fit for renters.
7. Put a slim cart in the gap
Most kitchens have a narrow gap somewhere: between the fridge and the wall, between the fridge and the counter, or at the end of a row of cabinets. A slim rolling cart, often only 5 to 7 inches wide, turns that gap into a pull-out pantry for cans, bottles and spices.
Measure the gap at floor level, because baseboards can steal half an inch. Also leave the clearance your fridge’s manual asks for, so it can vent its heat. Skip the gap beside the stove, since it’s too warm for food.
8. Add a freestanding pantry shelf
If you have a free wall in or near the kitchen, a narrow bookcase, a utility shelf with baskets or a pantry cabinet adds a whole pantry’s worth of space. A hallway or a dining nook works too, as long as it’s dry and away from heat.
Choose a unit about 12 inches deep, so cans and boxes sit one or two rows deep and stay visible. Baskets on the lower shelves hold potatoes, onions and bulky packs. Finally, anchor any tall unit to the wall. The U.S. Consumer Product Safety Commission’s Anchor It campaign says anchoring furniture with drawers, doors and shelves prevents tip-over injuries and deaths.
9. Keep backstock small
A small kitchen can’t hold a warehouse-club haul. Keep one backup of the things you use most, and put new purchases behind the old ones, so the older food gets used first. A running shopping list on the inside of your pantry cabinet door stops duplicate buys.
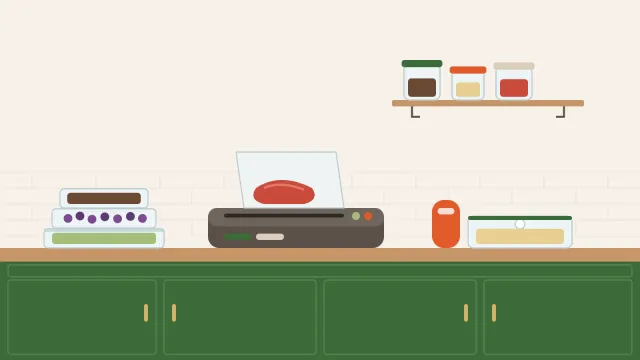
Once a month, spend ten minutes putting strays back and wiping the shelves. If you buy meat or bulk food in bigger amounts, freezing it in flat, vacuum-sealed portions saves space; our best vacuum sealer for home use guide covers how.
Our 5 picks for a small kitchen without a pantry
If you’re working out how to organize a small kitchen without a pantry, these five products each handle one of the steps above. We haven’t tested them ourselves; we compared their sizes, weight ratings and materials against typical small kitchens and read owner feedback for common problems. You don’t need all five, so start with the step that frees the most space in your kitchen.
- Best containersRubbermaid Brilliance Pantry 10-Piece Container SetCheck price
- Best binsmDesign Ligne Plastic Pantry Bins with Handles, 4-PackCheck price
- Best cabinet door rackSimple Houseware Over Cabinet Door OrganizerCheck price
- Best slim cartSPACELEAD Slim Rolling Storage Cart, 3-TierCheck price
- Best pantry shelfAmazon Basics 4-Shelf Adjustable Storage Shelving UnitCheck price
| Start here | Step 5 | Step 6 | Step 7 | Step 8 | |
| Product | Rubbermaid Brilliance | mDesign Bins | Simple Houseware Door Rack | SPACELEAD Cart | Amazon Basics Shelf |
| Best for | Flour, sugar, rice, pasta, cereal | Snacks, packets and cans | Foil, wraps and small boards | The gap beside the fridge | A pantry on a free wall |
| Size | Ten sizes, 0.5 to 16 cups | 10 x 6 x 5 in, each | 12.75 x 3.75 x 18.5 in | 4.9 x 15.3 x 26.1 in | 23.2 x 13.4 x 48 in |
| Capacity | 10 containers and a scoop | 4 bins | One basket, 2.9 in deep inside | Up to 30 lb, per the maker | 200 lb per shelf, evenly spread |
| Material | BPA-free Tritan plastic | Plastic | Steel | Plastic mesh | Chrome-finish steel wire |
| Measure first | Shelf height for the tallest | Shelf depth | Gap between door and shelf | Gap width at floor level | Wall space; anchor it |
| Buy | Check price on Amazon | Check price on Amazon | Check price on Amazon | Check price on Amazon | Check price on Amazon |
Rubbermaid Brilliance Pantry 10-Piece Container Set
Best for: Decanting dry goods into clear, stackable containers (step 4)
Step 4 is where a cabinet starts to hold as much as a small pantry. These containers are square-sided and stack, so they sit edge to edge without wasted corners, and you can see when you’re running low. The big sizes suit flour, sugar and cereal; the small ones suit nuts, seeds and baking add-ins. Decant what comes in bags, and leave cans and jars as they are.
What we like
- Latching lids seal airtight
- Crystal-clear Tritan plastic resists shattering
- Ten sizes, from 0.5 to 16 cups, plus a measuring scoop
- BPA-free, dishwasher safe, and resists stains and odors
Watch out for
- A bigger investment than basic canisters
- Check shelf height for the 16-cup size
- Plastic, so it can scratch over time
- Contents
- 16, 12, 7.8, 6.6 cups; two each of 3.2, 1.3 and 0.5 cups
- Lids
- Latching, airtight
- Material
- BPA-free Tritan plastic
mDesign Ligne Plastic Pantry Bins with Handles, 4-Pack
Best for: Loose packets, snack bags and cans in a cabinet (step 5)
Bins stop small things from spreading across a shelf. Give each one a job, such as snacks, baking, sauce packets or tea, and add a label to the front. At 10 inches long they suit most upper cabinets, and in a deep lower cabinet they work like drawers. Measure the shelf depth first, so the doors still close.
What we like
- Clear sides show what is inside
- Handles let you pull a bin out like a drawer
- Sized for cabinets, pantry shelves and the fridge
- Four matching bins for four food groups
Watch out for
- No lids
- 10 inches long, so the shelf needs to be a bit deeper
- 5 inches tall, too short for tall bottles
- Size
- 10 x 6 x 5 in, each
- Contents
- 4 bins
- Material
- Plastic
Simple Houseware Over Cabinet Door Organizer
Best for: Foil, wraps, sponges or small cutting boards inside a door (step 6)
The inside of a cabinet door is free storage, and this rack uses it without tools. Hang it on the door of the cabinet you turned into a pantry and fill it with wraps, foil or small packets. Under the sink, it holds sponges and gloves. Before you order, open the door and measure how far the shelves stick out, since the rack has to fit in front of them.
What we like
- Hooks over a cabinet door, with no drilling
- Basket is 11.8 inches wide inside
- Steel, with a slim 3.75-inch depth
- Moves with you, so it suits renters
Watch out for
- Check the shelves clear it when the door shuts
- The hooks need a small gap above the door
- Holds one row of items
- Size
- 12.75 x 3.75 x 18.5 in
- Basket
- 11.8 x 2.9 in inside
- Material
- Steel
SPACELEAD Slim Rolling Storage Cart, 3-Tier
Best for: The narrow gap beside the fridge or at the end of a counter (step 7)
This is the cart from step 7: a pull-out pantry for the gap you didn’t know you had. It holds cans, bottles, spices and snacks one row wide, so you see everything when you roll it out. Measure the gap at floor level and leave the clearance your fridge’s manual asks for. The maker rates it for up to 30 lb, so spread heavier items across the shelves.
What we like
- Only 4.9 inches wide
- Rolls out, then tucks back into the gap
- Mesh shelves let air move and water drain
- Light, at 2.5 lb, and assembles without tools
Watch out for
- Most stable tucked into a gap, not free-standing
- Plastic, so keep heavy cans on the lower shelf
- 26 inches tall, below counter height
- Size
- 4.9 x 15.3 x 26.1 in
- Tiers
- 3
- Material
- Plastic with mesh shelves
Amazon Basics 4-Shelf Adjustable Storage Shelving Unit
Best for: Building a pantry on a free wall near the kitchen (step 8)
If you have a free wall, a shelving unit adds a whole pantry’s worth of space. At 48 inches tall and 23 inches wide, it fits a hallway nook, a dining corner or the end of the kitchen. Put baskets on the lower shelves for potatoes, onions and bulky packs, and everyday food at eye level. As with any tall unit, anchor it to the wall.
What we like
- 13.4 inches deep, close to the 12 inches step 8 suggests
- Each shelf holds up to 200 lb, evenly spread
- Shelf height adjusts in 1-inch steps
- Leveling feet, and no tools to assemble
Watch out for
- Wire shelves: small items tip, so add bins or liners
- Open shelving shows everything, so keep it tidy
- Anchor it to the wall
- Size
- 23.2 x 13.4 x 48 in
- Shelves
- 4, adjustable
- Material
- Chrome-finish steel wire
Small kitchen pantry ideas for renters
Every step above works in a rental, and these add storage without drilling or losing your deposit:
- Tension rods split a cabinet into upright slots for trays and cutting boards.
- Adhesive hooks inside doors hold measuring cups, oven mitts and towels.
- Over-the-door racks and rolling carts move out with you.
- Stackable bins and turntables make the most of shelves you can’t change.
- Under-shelf baskets slide onto an existing shelf and use the air above short items.
And the cabinet under the sink, where food shouldn’t go, can take over cleaning supplies from your other cabinets. Our best under kitchen sink organizer guide shows organizers that fit around the pipes.
Mistakes to avoid in a small kitchen without a pantry
- Buying containers before you measure. Measure the width, depth and height of every shelf first.
- Storing food in the only empty cabinet, when that cabinet is above the stove or under the sink.
- Choosing round containers. They waste the corners of every shelf.
- Decanting food you rarely use. A labeled bin is enough for it.
- Hiding food so well you forget it. If you can’t see it, you’ll buy it again.
- Stocking up because it’s on sale. Extra packs end up back on the counter.
FAQ
Where do you put food in a small kitchen without a pantry?
Put it in one cabinet away from the stove, oven, dishwasher and sink, ideally near where you prep. If you need more room, add the backs of doors, a slim cart in a gap beside the fridge and a freestanding shelf on a free wall.
How do you store cans in a kitchen without a pantry?
Use a shelf riser or a can rack in your pantry cabinet, a slim rolling cart, or an over-the-door rack where cans sit one row deep. Keep them somewhere cool and dry, and put new cans behind older ones.
How do I make a pantry in a small kitchen?
Choose your coolest, driest cabinet, move the dishes out, and add a shelf riser, a turntable and labeled bins. Then decant staples into square containers. That’s steps 2 to 5 above, and it takes about an afternoon.
Can I store food in the garage if my kitchen is too small?
It’s better not to. The USDA advises against storing shelf-stable food in a damp garage or basement, or anywhere with big temperature swings. Use the garage for paper towels, cleaning backstock and rarely used appliances, and free up kitchen cabinets for food.
What do I need to organize a small kitchen without a pantry?
Mostly what you already own, plus a few pieces that add space. Square airtight containers, a few open bins, a rack for the inside of a cabinet door, a slim rolling cart for a gap and, if you have a free wall, a shelving unit about 12 to 14 inches deep. Our five picks cover each one.
Is it OK to store food on top of the fridge?
For light things you use often, such as bread or a cereal box, it can work if you can reach it safely. Keep heavy items and anything that spoils in the heat elsewhere, and check that nothing blocks the vents your fridge’s manual mentions.
For more ways to make room, start with our small kitchen organization ideas, or browse every guide in the Storage & Organization category.
New to storage? Start with our complete guide: Small Kitchen Organization and Storage Ideas: The Complete Guide